You want to up your cooking with a stick blender but must decide which is right for you.
As a veteran kitchen specialist, I’ve witnessed the transformative power of stick blenders. This handy device can whip up smoothies, soups, salad dressings, and sauces in seconds.
But choosing the right stick blender can be tricky. But don’t worry. I’m here to share my expertise and guide you through the essential factors to consider when making this critical purchase.
In this article, I’ll share my pro tips for choosing a stick blender that fits your needs and budget. Read on for how to pick a stick blender like a pro. Let’s go to start.
What do I consider when choosing a stick blender?
As a kitchen specialist, I have a few tips for selecting a stick blender.
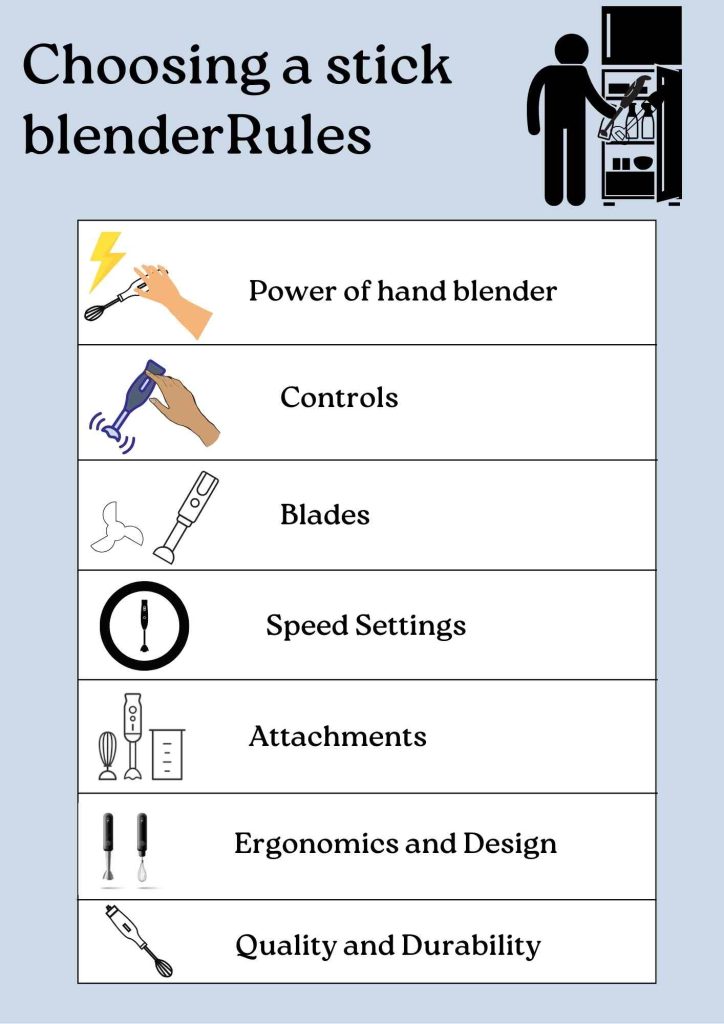
1. Power of hand blender
I’ve used my fair share of stick blenders as a kitchen specialist. The most critical factor is power. You’ll want at least 200 watts for basic tasks like smoothies and salad dressings but aim for higher-tough jobs.
Around 500 watts will handle small batches of nut butter, hummus, and thick batters. For larger quantities or frequent use, splurge on 600 watts or more. With the right power level, a quality hand blender can replace several appliances and save you significant time in the kitchen.
Another critical feature is blade design. Many closely stacked blade levels will blend more efficiently than a single blade. Stainless steel blades also provide durability. Look for a model with detachable blades in the dishwasher for easy cleaning.
2. Controls
As a kitchen pro, one of the most important things I consider when choosing a stick blender is the controls. You want a model with variable speed settings, so you have more control and precision. Look for one with at least three speeds, typically low, medium, and high. Higher-end models may have even more granular control with a dial or slider.
Variable speed gives you more flexibility in how you use the stick blender. Low speeds are suitable for gentle mixing and combining ingredients. Medium works well for most everyday blending needs, and the high setting handles challenging tasks like crushing ice cubes or making smoothies. Adjusting the speed on the fly lets you start slowly and increase power as needed.
It helps avoid splattering and messes in your kitchen. The stick blender should also have an easy-to-operate power button, ideally with a safety lock feature. A locking mechanism prevents the blender from accidentally turning on when not used or stored in a drawer. Some models also have turbo or pulse buttons to blend or chop ingredients quickly. The controls on the blender handle should be within easy reach of your fingers and marked.
Ultimately, the stick blender controls are one of the most important factors for efficient and enjoyable blending in your kitchen. Variable speed gives you precision, while safety features provide peace of mind.
3. BLADES
The blender blades are arguably the most essential part of a stick blender. They do all the chopping, mixing, and blending. Look for high-quality stainless steel blades that feel substantial. Cheaper blades may bend or break more easily.
For most kitchen tasks, a standard S-shaped blade will work great. It can handle everything from smoothies to pesto to mayonnaise. If you plan to crush a lot of ice, consider a blade specifically designed for that purpose. An ice blade typically has a more robust, jagged design. Removable blades are convenient since they’re easy to clean, and you can swap out different blades.
However, fixed blades typically feel more solid and durable. Either type will work, so go with what’s most important to you.
4. Speed Settings
When choosing a stick blender, consider how much control you want over the speed. Some models offer an on/off switch, while others provide multiple speed settings. As a kitchen pro, I highly recommend getting a stick blender with at least three speed settings.
Having options for different speeds allows you to adjust to the task at hand. A slower setting is suitable for gently blending ingredients or preventing splattering, while a faster setting quickly emulsifies and purees. Multiple speeds give you more control and precision, which is proper for everything from salad dressings to soups to smoothies.
A stick blender with 3 to 5-speed settings should work great for most kitchen needs. More options mean a steeper learning curve, so only go for a high-powered model with 10+ speeds if you frequently use it for demanding tasks.
5 Attachments
Look for attachments. Some stick blenders come with valuable extras like:
- Whisk attachment: Great for whipping cream, egg whites, or salad dressings.
- Chopper attachment: Dices vegetables, nuts, and herbs in seconds.
- Food processor attachment: Chops and mixes more significant amounts of food. Perfect for pesto, coleslaw, or hummus.
- Mixing beaker: Blend and mix ingredients, then store them in the fridge. Convenient but optional.
Consider the motor power: More watts means more powerful blending and the ability to handle more challenging tasks. Around 200 to 500 watts is suitable for occasional use. For frequent use or cooking large batches, look for at least 600 watts.
Check the blade: A stainless steel blade will last longer and handle hot ingredients. Removable blades are easier to clean. Some have special bell-shaped blades ideal for blending in narrow containers.
Think about controls: Variable speed control gives more precision. Turbo or pulse buttons provide short bursts of high power. Look for intuitive, easy-to-use controls that won’t get splattered during use!
6. Ergonomics and Design
Look for a stick blender with an ergonomic handle that fits comfortably in your hand. Models with soft grip or silicone handles are most pleasant to hold for long blending tasks. Some handles are adjustable so that you can get the perfect angle. An adjustable speed dial or trigger allows you more control over the blending process.
Pay attention to the overall weight and balance of the stick blender. A model that is too heavy can cause fatigue and be challenging to maneuver. Look for a lightweight but durable option, ideally under 3 pounds. Stick blenders with the blender end weighing more than the handle end may also feel unbalanced in your hand.
The design and construction of the blender end, known as the blending shaft or wand, is also essential. A wider blending shaft, around 2 2 to 3 inches, will make quick work of larger batches and chunky ingredients. Look for durable, high-quality stainless steel blades that can stand up to frequent use. Removable blending shafts in the dishwasher are very convenient to clean.
Choosing a hand blender with an ergonomic, easy-to-use design will make blending tasks a breeze.
7. Quality And Durability
Look for a stick blender with a sturdy motor, typically 200 watts or more power. Underpowered models won’t handle stricter blending tasks and will burn out more quickly. Higher wattage means a longer-lasting, more capable motor.
Check that the blending shaft is made of stainless steel, not plastic. Stainless steel is more durable and easier to clean. It will also resist warping or cracking over time. Plastic parts tend to break down faster with repeated use and cleaning.
See if the stick blender has a warranty of at least 2-5 years. A good warranty is a sign that the company stands behind the quality and longevity of its product. You’ll be covered if anything goes wrong with your stick blender during that time.
Consider paying a bit more for a high-quality stick blender. While you can find inexpensive models, they typically last only a short time and end up in landfills. A stick blender from a reputable brand in the $30-$60 range is a good investment that should serve you well for many years.
Spending a few extra minutes researching stick blender reviews and comparing models will help you choose one that will blend, chop, and mix for years. Quality and durability- that’s what matters if you want an appliance that stands the test of time.
Recommended Stick Blender Models Based on Budget
As a kitchen pro, I’ve tested many stick blenders. Here are some recommendations based on budget:
For under $30, I’d suggest the Mueller Ultra-Stick 9-Speed Immersion Multi-Purpose Hand Blender. It’s compact, easy to use, and clean with
Nine speeds to handle most kitchen tasks. The stainless steel blades and motor hold up well for casual use.
If you can spend $30-60, the KitchenAid 3-Speed Hand Blender is a solid choice. KitchenAid is a reputable brand, and this model has a powerful motor that can blend, puree, and mix quickly. It includes a 3-cup blending jar for making smoothies and shakes. The attachments are high quality and dishwasher safe.
For $60-100, I highly recommend the Breville Control Grip Immersion Blender. It has an ergonomic pistol grip handle, 15 speeds, and a bell-shaped base to blend in pots, bowls, and pitchers. The attachments include an extra-large chopping bowl, whisk, and storage case. Breville is a leader in small kitchen appliances. This heavy-duty, versatile stick blender should last for years.
If you want to splurge on a professional-grade immersion blender, the Vitamix Immersion Blender is top-of-the-line. It has a powerful motor and variable speed control. The high-quality blades can handle even the most challenging tasks. It’s pricey but worth the investment. Its durable, ergonomic design and 5-year warranty make it a good choice for serious home cooks and professionals.
Choose a stick blender from a reputable brand with multiple speeds. It should have quality stainless steel blades and attachments. The motor should pack enough power for your typical blending needs. The recommended models fit the bill. They provide excellent value at their price points.
Using a Stick Blender: My Tips and Tricks From the Kitchen
Begin blending on the lowest speed setting, then gradually increase the speed. It allows the ingredients to get incorporated before becoming fully integrated. Starting slowly prevents splattering and mess, keeping your countertop (and you!) clean.
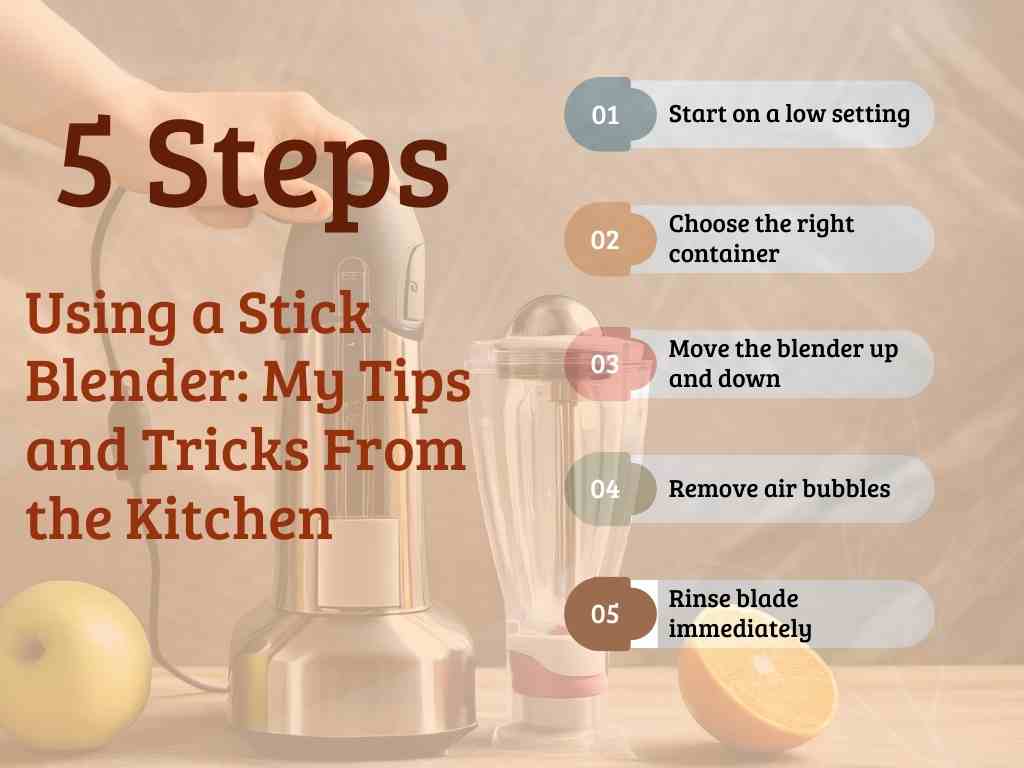
Choose the right container
Select a deep and wide container for the ingredients you want to blend. For small amounts, a tall glass or measuring cup works well. For larger batches, use a pitcher, bowl, or pot. Make sure the container is non-slip to keep it steady.
Move the blender up and down
Don’t just turn on the stick blender and let it go. Gently move it up and down through the ingredients while blending. It helps everything get evenly mixed and smooth.
Remove air bubbles
If air bubbles appear while blending, lift the blender slightly out of the liquid. The bubbles will disappear, and you can continue mixing.
Rinse blade immediately
When you’re done blending, rinse the blade attachment under warm running water. Wipe the motor body with a damp cloth to remove any splatters. Allow all parts to air dry thoroughly before storing to prevent the growth of bacteria.
These valuable tips will make using your stick blender quick, easy, and mess-free. Happy blending! Let me know if you have any other questions about using kitchen tools.
Conclusion
We’ve reached the culmination of our stick blender exploration. You will choose the best Stick Blender Armed if you follow these guidelines.
Remember to consider how much power you need. Also, think about the attachments. Make sure to check the warranty. Lastly, remember how easy it is to clean and store. Choosing the perfect stick blender will expand your kitchen options.
You will quickly make mayonnaise at home. Buttery soups will be made in the pot. It’s easy to make new pesto. And the best part is you have one less appliance cluttering your countertop.

Tammy E. Edison is a distinguished specialist in the world of kitchen appliances, and she is proud to be a part of the dynamic team at kitchenusers.com. With a background in engineering and a passion for culinary innovation, Tammy E. Edison has established herself as a go-to expert for all things related to kitchen appliances technology.